Redux Toolkit is the wrapper around redux for using in React. Toolkit makes it easier to use redux in React.
The steps to use the redux tool kit is as follows.
step1 install react-redux and redux toolkit
npm i @reduxjs/toolkit
npm i react-redux
Step2 – create a folder as store and then you can add pages as slice. example add a file like CartSlice.js and then in the file CartSlice.js first step is to create initial state like
import {createSlice} from '@reduxjs/toolkit'


const cartSlice=createSlice({
name:'cart',
initialState:[],
reducers:{
add(state,action){
state.push(action.payload);
},
remove(state,action){
return state.filter((item)=>item.id!==action.payload)
}
}
});

export const {add,remove}=cartSlice.actions;
export default cartSlice.reducer;
Step3 create file in same folder store like store.js
import { configureStore } from '@reduxjs/toolkit';
import {cartReducer } from './cartSlice'

const store = configureStore({
reducer:{
cart:cartReducer,
products: //if you created slice for products or other slice

}
});

export default store;
Step-4 You need to wrap the <BrowserRouter> <Provider> and you need to pass the store as parameter to provider like below:
import {Provider} from 'react/reduct';
//ofcourse you need to import store form store/store.js
<Provider store={store}>
Step-5 – Now that the store is defined, slice file is created. Store is injected in provider and it wrapped <BrowserRouter> now how we store or call the data from store.
for example we want to access the store in Products.js, what we need to do is first of all import useDispatch and add like below
import {useDispatch} from 'react-redux'
import {add} from '../store/CartSlice.js' //add and remove are actions defined in CartSlice.js

const Products=()=>{
const disptach=useDispatch();

const handleAdd=(products)=>{
dispatch(add(product));
}
}
that is it, if you want to add products to cart using add-to-cart button and call the function onClick={handleAdd}
Step-6 – Read data from Store – now that the data is stored in redux store, now is the time to get or read that data.
To do that first up you need to import
//comments

import {useSelector} from 'react-redux';

//for example we want to show the products in cart.
// so in navigation page or component we can do like this:
const Navbar=()=>{
const items = useSelector((state)=>state.cart); here we are subscribing to the //state of cart or in other words we are creating a stream.
// also when we use useSelecter, we are getting the full state of store,
so we can or need to call state.cart or state.otherstorage.
}
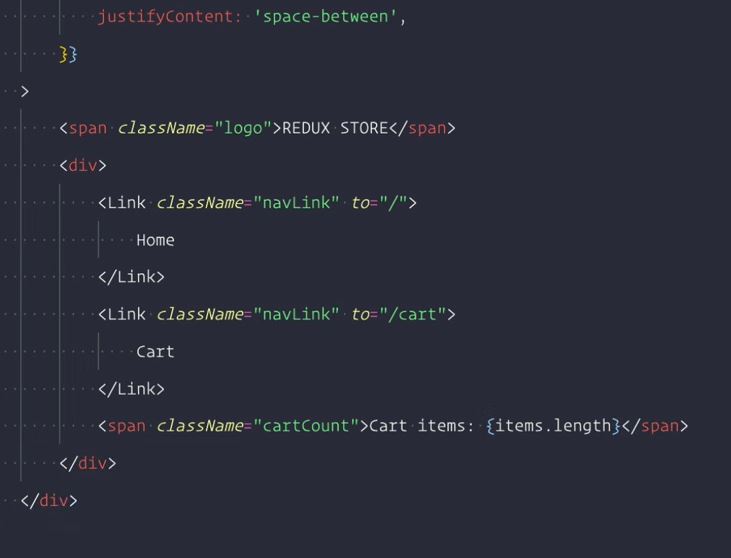
{items.length} in the picture will result in showing the cart items count.
Step-7 – Remove data from store. you need to import useSelector and useDispatch from react-redux as well as import actions for remove from cartSlice.js like below:
import { getNodeText } from '@testing-library/react';
import React from 'react';
// useSelector is used to read the data from store.
// useDispatch is used to dispatch actions to modify the store or so to say add //a new state.
import { useSelector, useDispatch } from 'react-redux';
import { remove } from '../store/cartSlice';

const Cart = () => {
    const dispatch = useDispatch();
    const products = useSelector((state) => state.cart);
    const handleRemove = (productId) => {
        dispatch(remove(productId));
    };

    return (
        <div>
            <h3>Cart</h3>
            <div className="cartWrapper">
                {products.map((product) => (
                    <div key={product.id} className="cartCard">
                        <img src={product.image} alt="" />
                        <h5>{product.title}</h5>
                        <h5>{product.price}</h5>
                        <button
                            className="btn"
                            onClick={() => handleRemove(product.id)}
                        >
                            Remove
                        </button>
                    </div>
                ))}
            </div>
        </div>
    );
};

export default Cart;
Leave a Reply